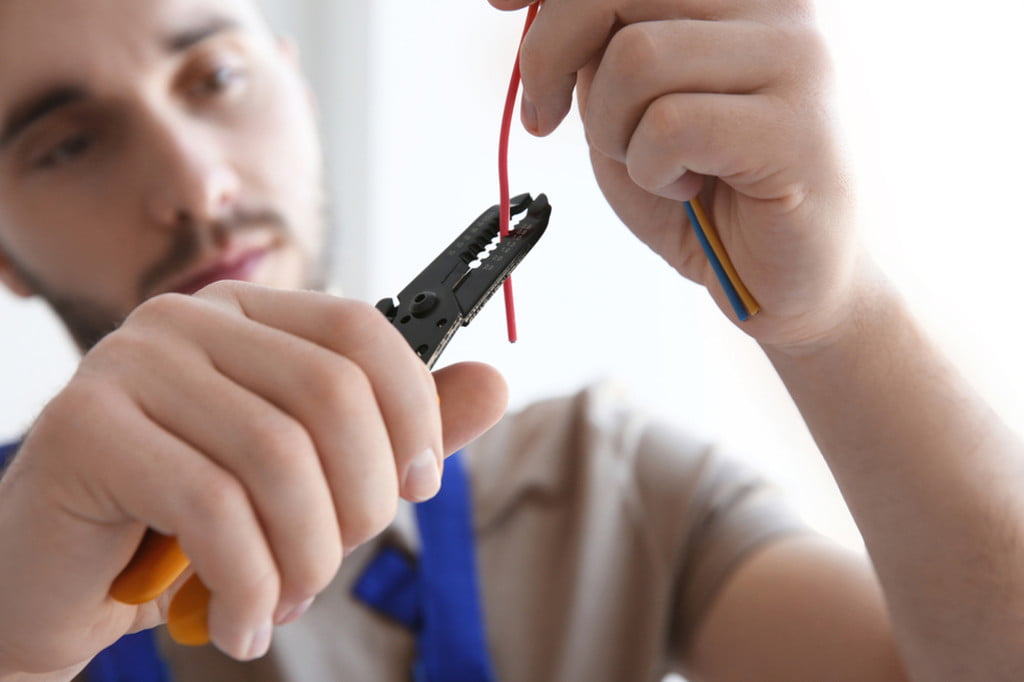
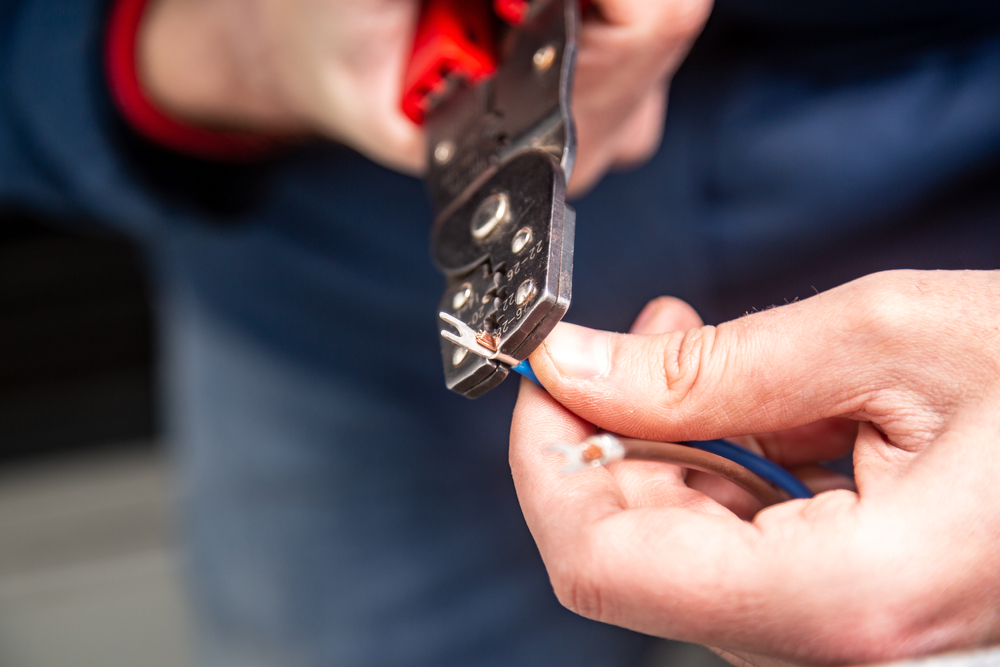
If you were put to the test, would you know how to crimp wires together? When you learn how to use a wire crimping tool, you can save time and money from having to get a pro to do it for you. If you work in construction and deal with wiring, knowing how to crimp wire connectors is a necessity. It’s also a pretty simple task. Before we dive into the easy steps to crimp wires, we’ll explain why you crimp wires and the benefit.

Proper wire connections avoid shorts and other issues
When you’re on a construction project involving electrical matters or doing something similar at home, being able to easily crimp wires together is important, and it’s especially pertinent that you get the wires tightly together. Failing to do this can lead to a loose connection and you may not have the power source you seek.
Crimping wires gives you a stronger and more reliable connection. With crimping, you can form an airtight seal that joins the cable and connector. Doing so reduces the chances of particles like dust and dirt getting in between the cable and connector. This procedure also protects the wires from moisture, which can come into play with outdoor wiring.
Step 1: Collect the necessary tools
Be sure you have the proper crimping tools before starting the job. The tools you need include:
- Wire crimping tool (make sure it has various die sizes, so the die isn’t too small or too big)
- Crimp terminals
- Wire strippers
Step 2: Have the correct wiring and terminal
Know what type of wiring you require, so you have the proper wire size to work with. The best way to determine wire measurements is to use the American Wire Gauge (AWG). This number (example: 14 AWG) tells you the thickness of the wire. So, a 14 AWG involves wiring what you would find with lamps and other light fixtures. By knowing the AWG on the project at hand, you’re better prepared to get the job done in an efficient and expedient manner.
You also need to know your crimping terminal selection as you connect the wiring. Terminals come with various plating choices that protect the wiring from corrosion. Tin is usually a good choice for plating, with gold and silver next on the list.
You could also look to pre-insulated terminals as an option. These do away with stranded wire and facilitate the connections you want. A turned pin terminal (oftentimes round and made from rod materials) helps support the connector formation.

Step 3: Crimp the wire
Take the properly measured wire and remove the end section. Using a wire stripper allows you to take out the sheaths and stripping on more than one insulated wire when needed. Look for a minimum of around 1/16 of an inch of wire to extend out of the crimp after you insert the wire. Make sure the crimping die (the top piece of the crimper used for crimping) is right for the chosen wire gauge mentioned in step 2.
From there, expose the strands of the wire. Do this by trimming off the end insulation, which could be any number of colors (red, yellow, blue, green). Now, have your crimping tool in hand and properly place both the wire and crimp in the tool. Match the insulation color with the right color on your crimping tool. If the insulation has no color, you can use the gauge markings located on the side of your tool to measure and match things up. Ensure the positioning is correct or you could end up damaging the wire. Move the tool until you reach the release point.
Step 4: Inspect the wiring
After you remove the crimp, the end result should be properly adjusted wire and firm insulation. Inspect the wire to ensure you have it the way you intended. You may want to use a magnifying glass to help you get a better look at the finished product. With a gentle tug, the wire shouldn’t be able to separate, even partially, from the crimp. If you can unseat the crimp, you must go back and do the procedure over again to ensure the wiring is properly placed.
Wire crimping made easy
Using a wire crimping tool, crimp terminals, and wire strippers allows you to become a pro at this. By avoiding soldering and lowering the installation time, you can crimp wires together before you know it. Wire crimping is a better choice than soldering because the connection is more reliable. Remember, have the right tools, make the right connections, and move along to your next project.


