One of the most important structural features of any building is its roof. Metal is a premium roofing material used for its strength and durability. If installed properly, some metal roofs can last up to 200 years!
If you’re looking to keep your home in your family for generations, a metal roof provides an excellent return on investment. Or if you’re interested in starting your own roofing business, knowing how to install a metal roof is necessary. Before we talk about metal roof installation, let’s cover some common types of metal roofing.

Common types of metal roofing
The type of metal you choose affects its overall cost. Some metals are more durable than others and can come in different colors to match your home. If you’re trying to estimate your metal roofing costs, check out this post from Angi.
Steel
Galvanized steel is the most common type of metal used for roofing due to its affordability and durability. You can also paint steel to increase its longevity. When correctly installed, a steel roof can last up to 50 years.
Tin
Tin roofing typically consists of a material called terne, which is steel coated with a tin alloy. Tin roofs patina over time to a grayish color, but you can also paint this material. Over very long periods, tin may become prone to oxidation and corrosion.
Aluminum
This is a durable steel option, but it’s much lighter than others. For this reason, aluminum is more expensive. It’s excellent at resisting rust, but dents easily.
Zinc
Zinc roofing is a more costly premium metal that’s durable and easy to form. Roofs with this metal naturally age to a blue color. Depending on the weather, a zinc roof can last up to 100 years.
Copper
Copper is the most pricey, yet most visually appealing roofing material. Like the Statue of Liberty, copper roofs patina to a pale green color. Copper is the most durable metal and very lightweight.
How to install a metal roof
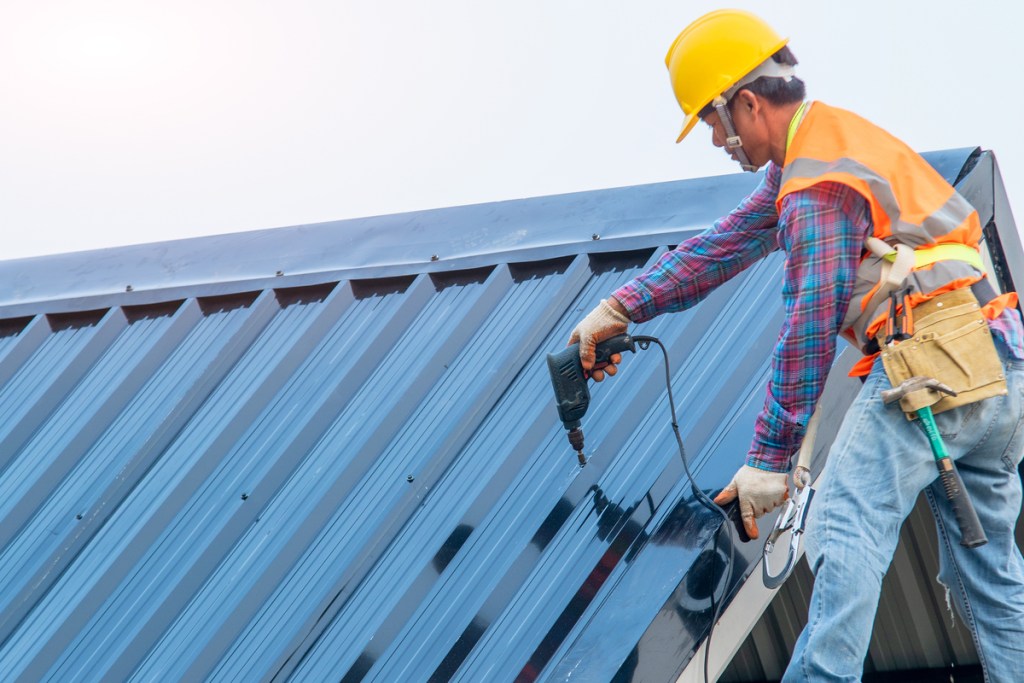
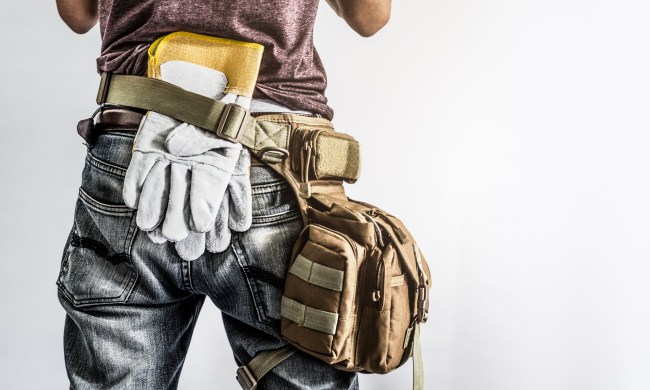
Once you choose your material, the first thing you need to do is make sure you have all the proper safety equipment. Safety equipment is critical when installing any roof. Personal PPE, such as a harness system, hard hats, gloves, and high-traction work boots, are highly recommended. Ensure you clear your roof of any hanging power lines or tree branches and secure your ladder on the ground and point of contact on the roof.

1. Measure the roof
Recording the proper roof measurements is essential for ordering the correct amount of materials. You’ll get an accurate measurement by using the following formula: Length by width by slope.
2. Gather materials and prepare the work site
After measuring the roof, decide on the type of metal roofing material you want and how you’d like the panels cut. When ordering metal panels and trim, give yourself some room for error and order 10-15% more to allow for waste. You’ll also need to gather all essential tools and other materials like weatherproof underlayment, power drills, sheet metal screws, claw hammers, and more.
Before starting, prepare the outer perimeter of the home for work. Place trash cans for waste around the house. Also, laying tarps or painter’s cloth on the yard below the roof makes for easier cleanup.
3. Strip the roof and place underlayment
Although it’s possible to place metal panels directly over your old roof, it’s not advised. Metal roofing installation experts recommend stripping the old shingles and underlayment thoroughly, then perform any necessary repairs to the underlying plywood.
After you stripped it entirely, putting down new underlayment further protects your home if any water makes its way through. Underlayment also helps insulate your house. Depending on your climate, you can spread the underlayment under or over your edge trim. In colder climates prone to ice, it’s best to place the underlayment below the trim.
4. Bend and fasten roofing trim
After putting down the underlayment, bend your trim to fit each unique edge of the roof. These trims are eaves, sidewall flashing trims, mono-pitch ridge gaps, and gable trims.
Once crafted, attach the trim to the facia and secure it to the roof deck with 1-inch roofing nails. Where the trims meet, secure them together with weatherproof sealant.
Before setting your paneling, place a foam closure strip with adhesive where the trim meets the edge of the paneling. This prevents insects and water from getting under the panels.
5. Set and secure paneling
Once your trim is in place, you’ll set and secure the paneling. When laying your panels, you must overlap them correctly. There will be a dedicated top and bottom portion to each panel. The bottom touches the roof surface, and the top portion overlaps and nests into the bottom.
The key to a waterproof roof is using the right screws and placing them correctly. You’ll need to use neoprene washer head screws with rubber grommets that create a weathertight seal. Evenly space the screws into the roof surface, driving them in tight enough to make a seal. Be careful not to screw in too tightly, as overtightening the screws can cause the rubber grommets to break and crack.
6. Attach flashing and ridge caps
The last step is to install your flashing and ridge caps. For the areas that need coverings, apply another foam closure strip coated with sealant. Lay caps and flashing over the strip and drive in screws using the same method as the paneling.
Final points
Metal roof installation is no small task. You should have at the very minimum, one or two people helping you with this job. If you have any doubts, always reach out to a professional roofing company.


